How to upload an image in laravel

I've got accomplished web development with expertise in various programming languages including PHP, Laravel, C#, and C++. My curiosity to learn more and my passion for coding drives me to constantly enhance my skills and create exceptional digital experiences.
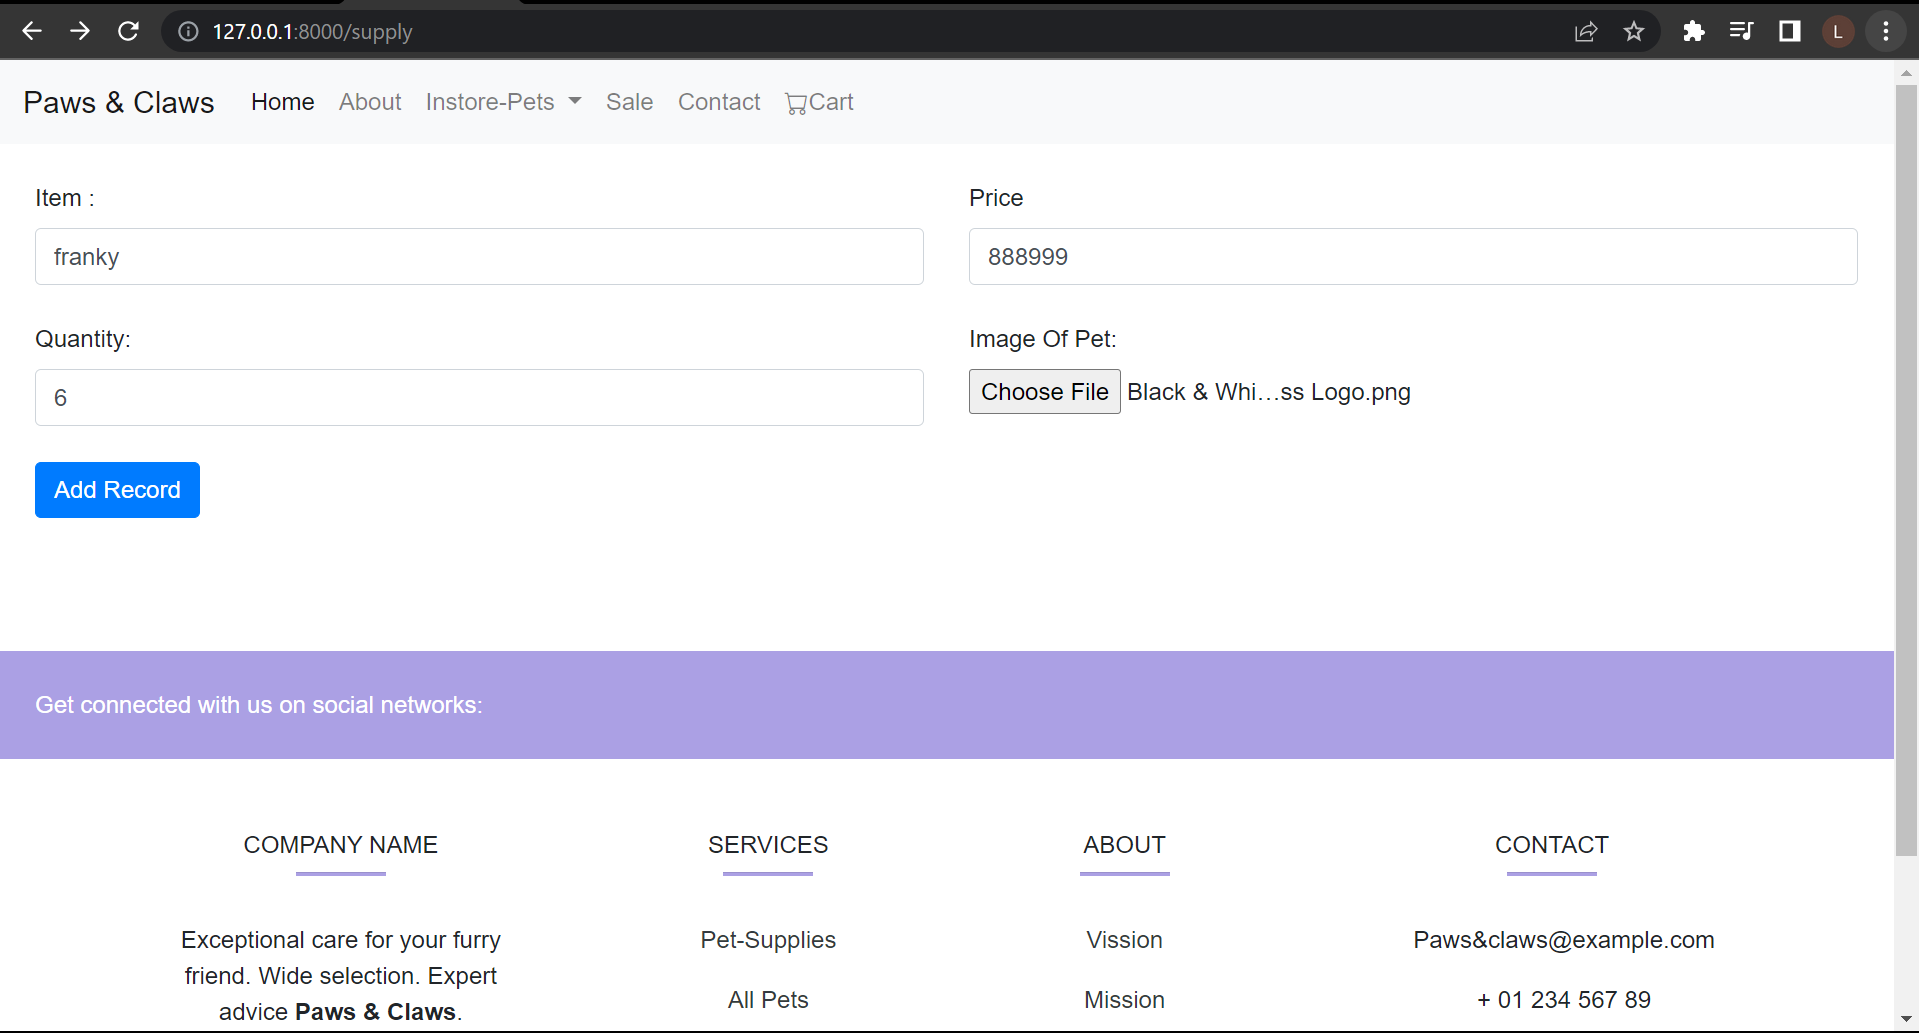
Setting up a form to upload the image
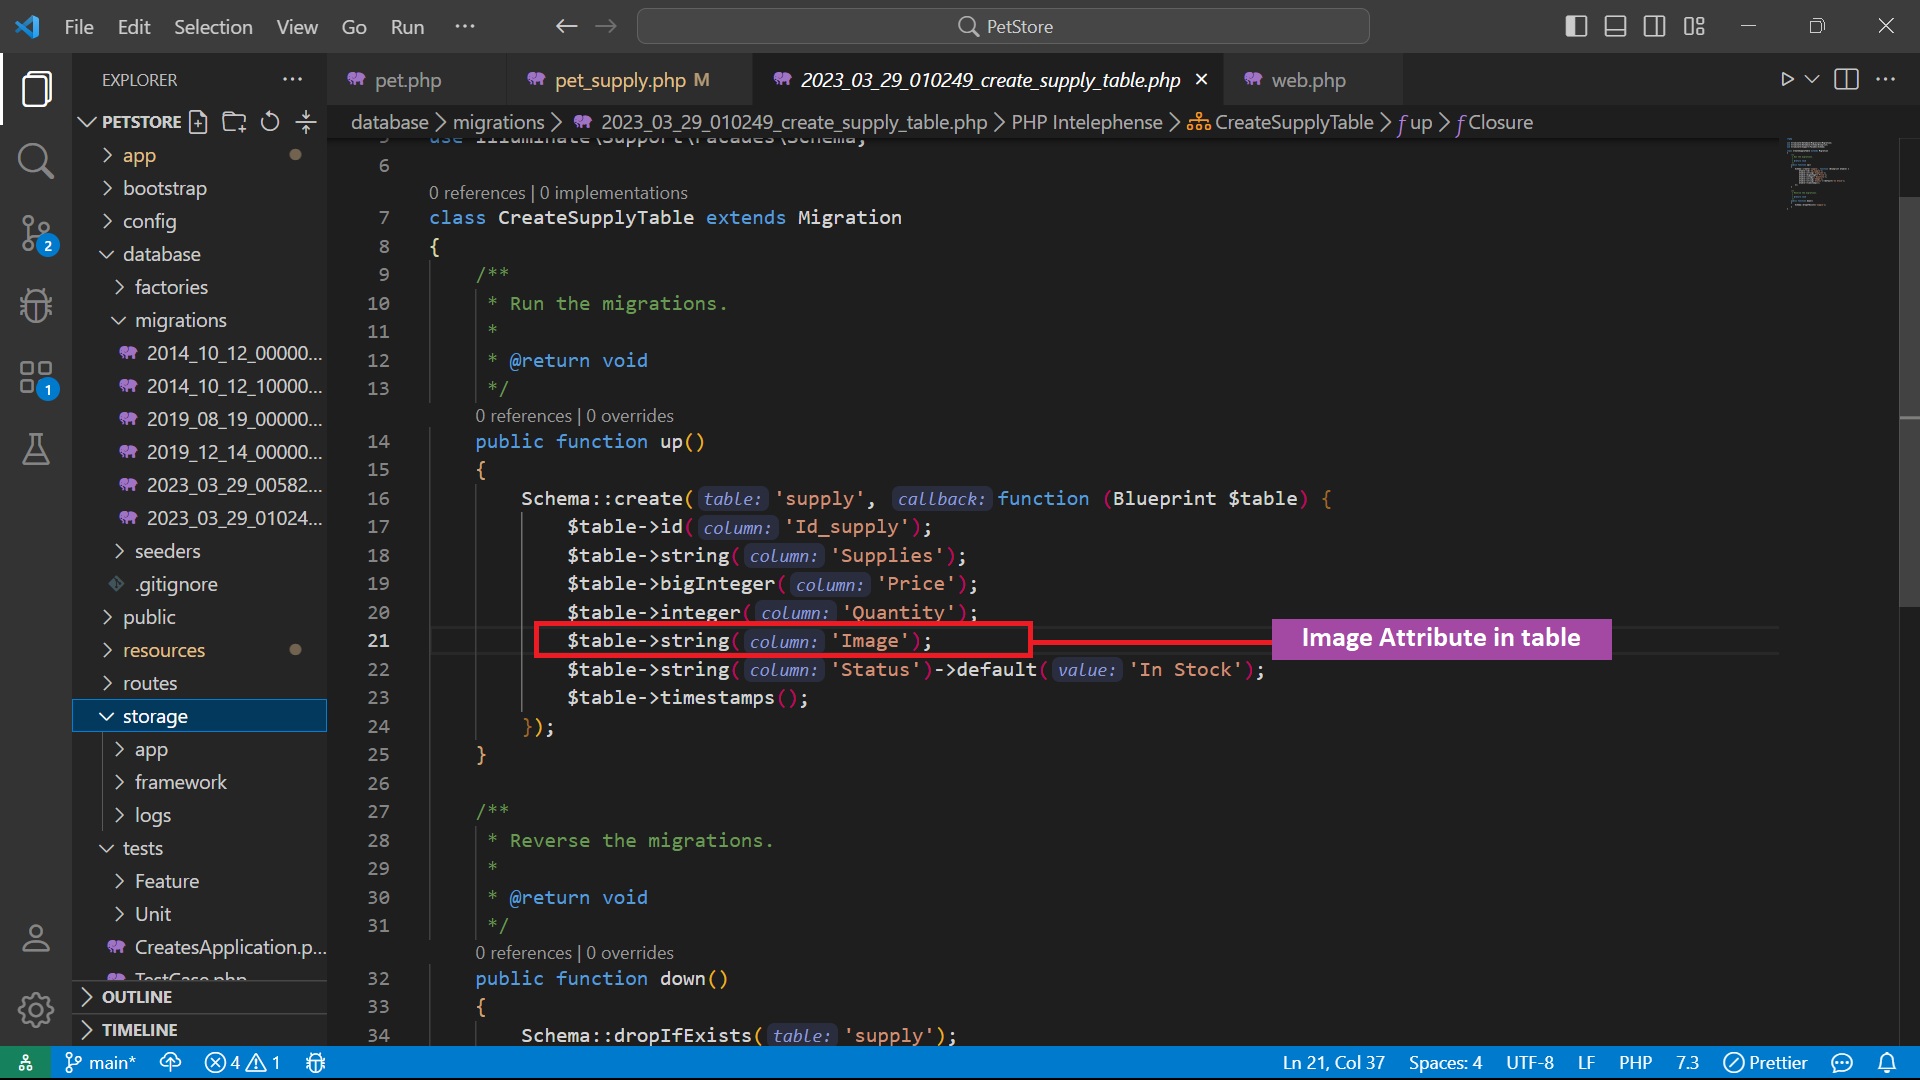
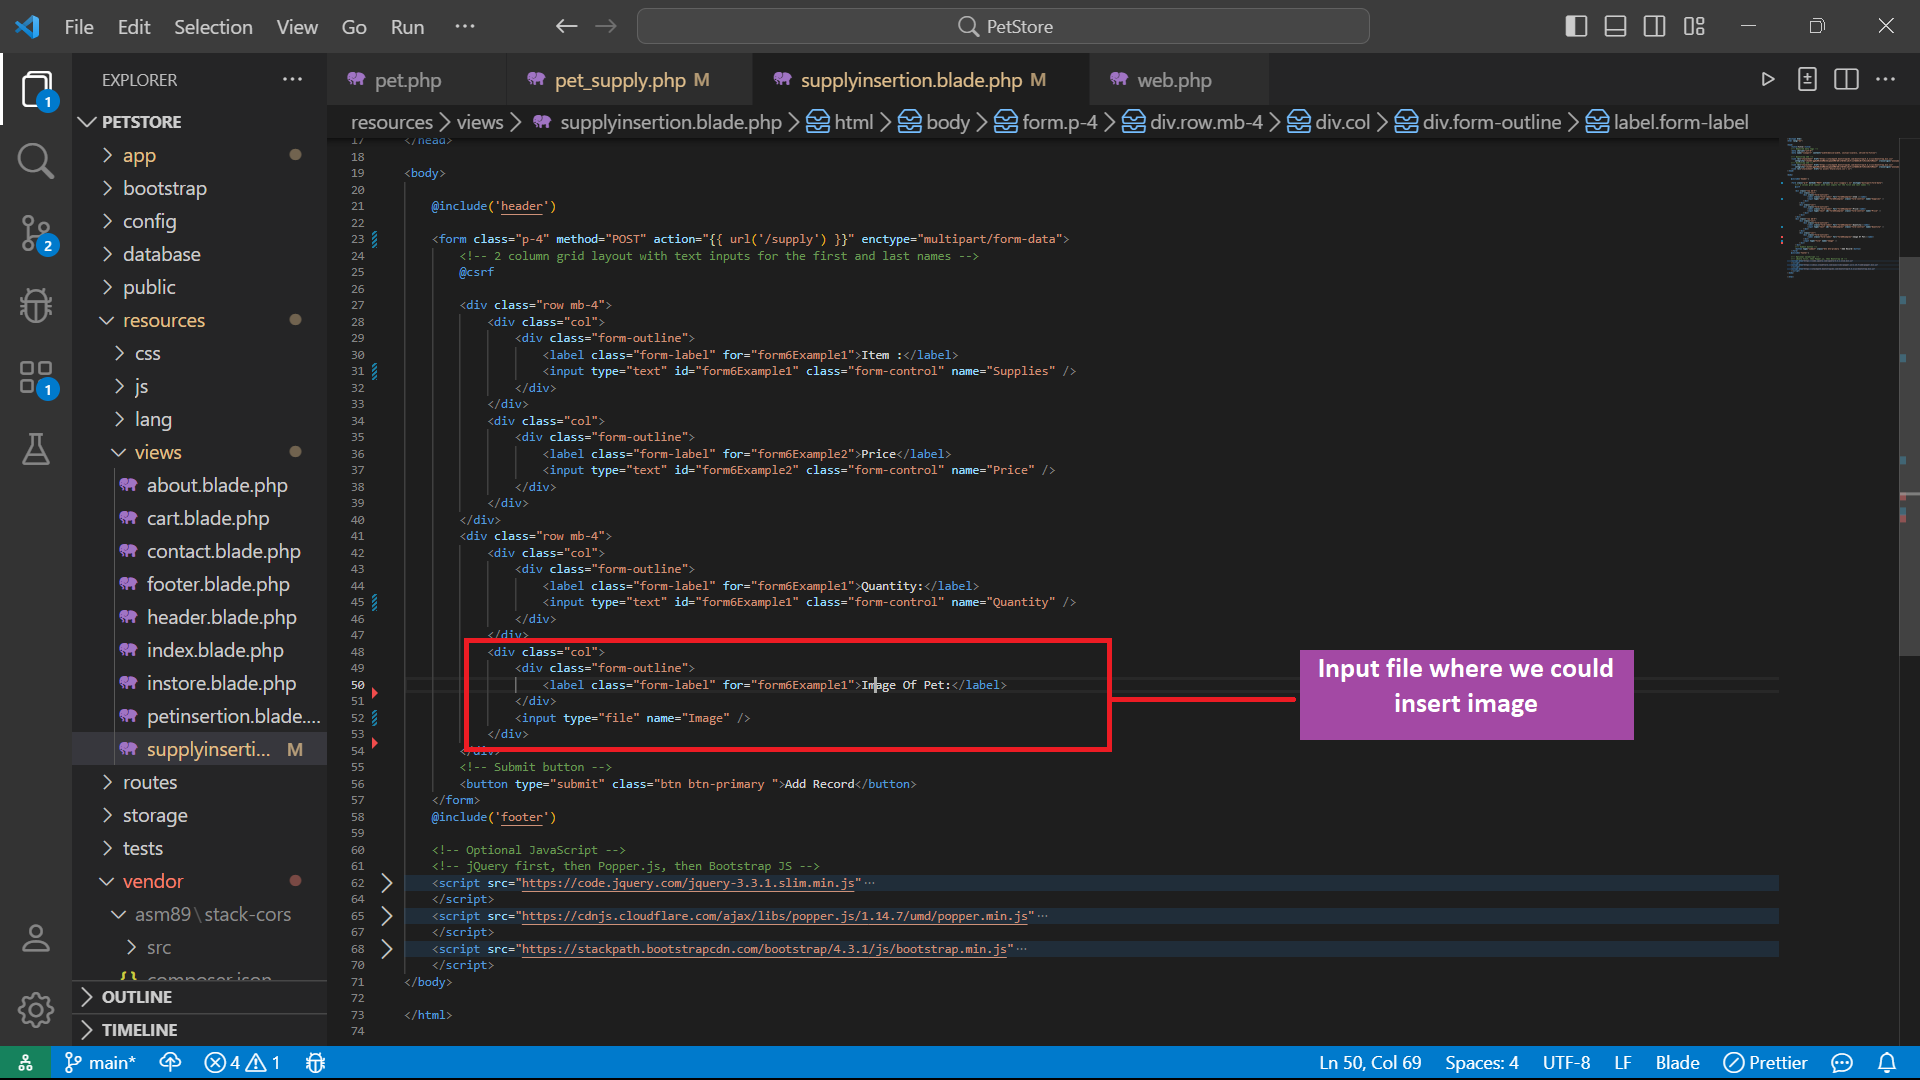
In order to streamline the process and avoid repetition, let me summarize the steps that have already been completed. Firstly, the database and table migration has been executed successfully. Secondly, an "Image" attribute has been added to the table. Lastly, an insertion form called "supplyinsertion.blade.php" has been created and includes an "input type file" for uploading images.
To visualize these steps, here is a screenshot showcasing the table structure with the "Image" attribute and the "supplyinsertion.blade.php" form:
database/migrations
Resources/view/supplyinsertion.blade/php
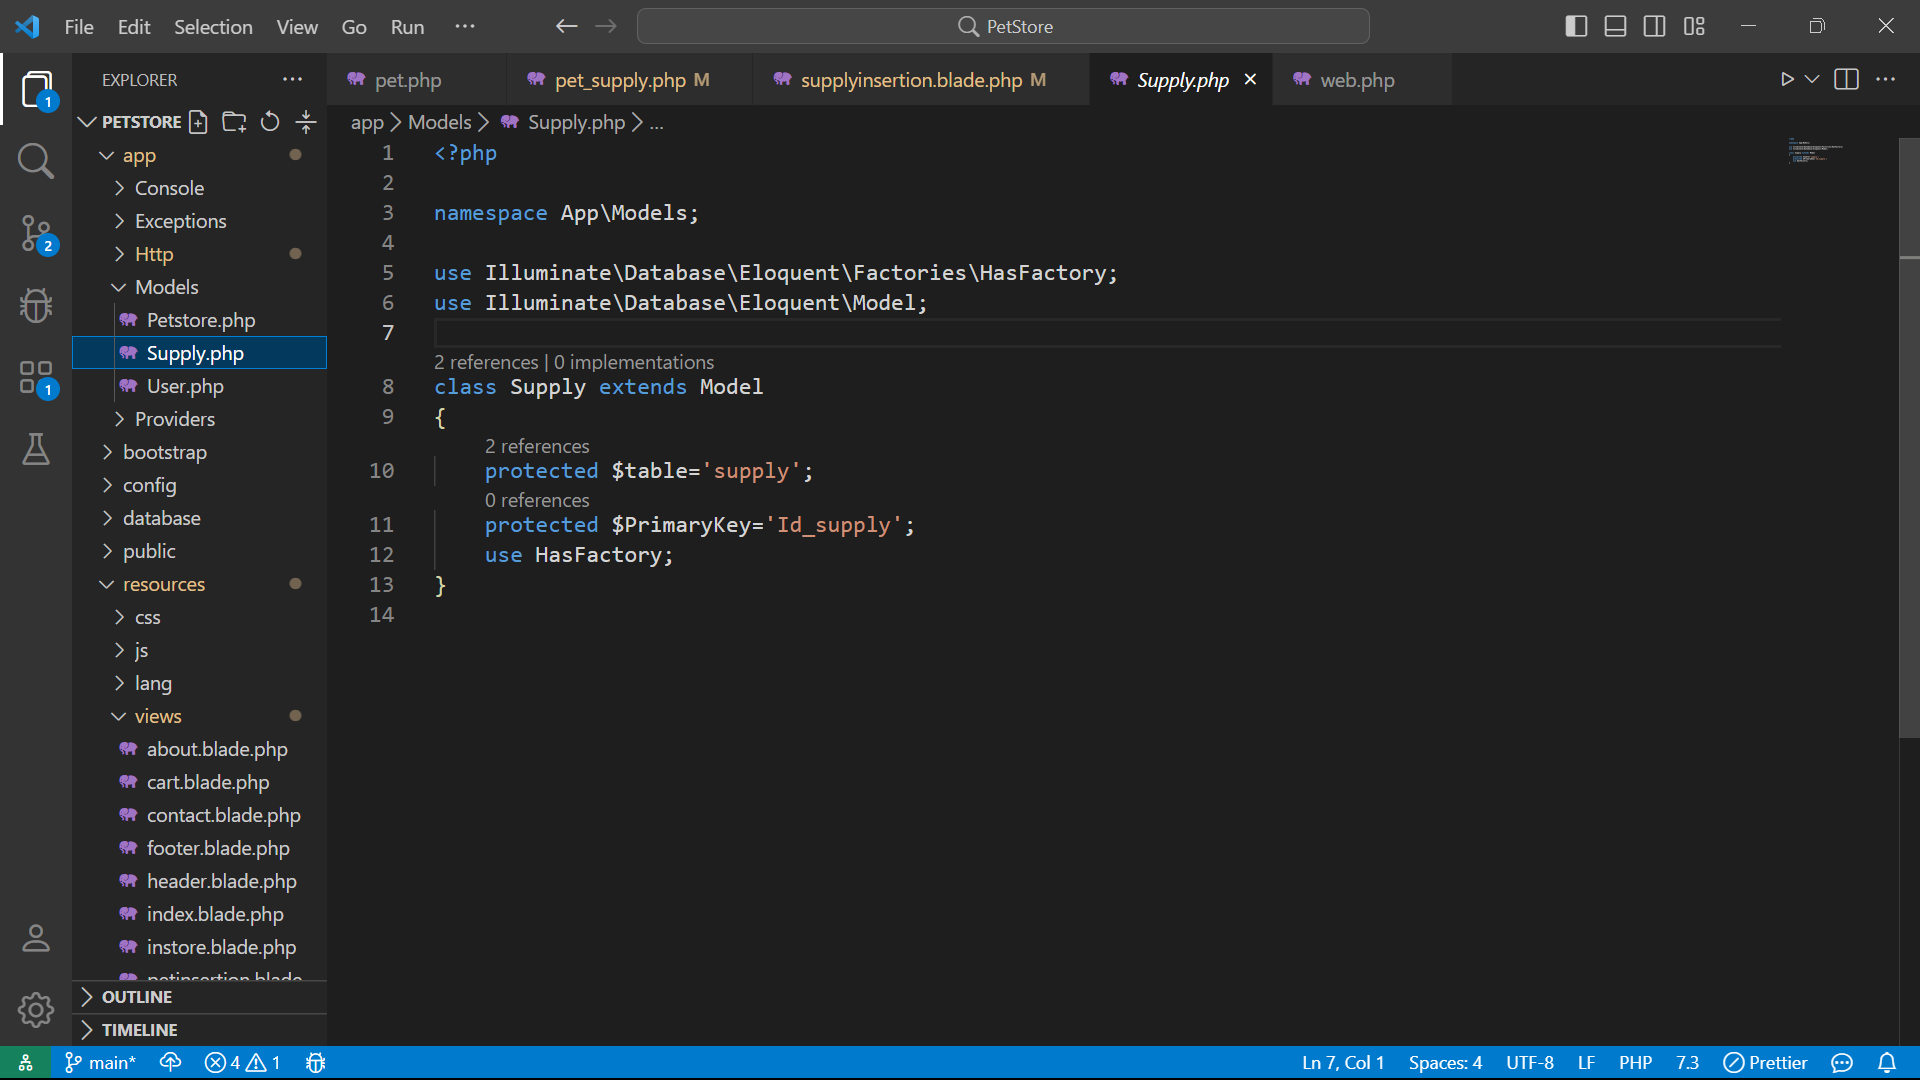
app/models/supply
These completed steps serve as a foundation for our project and demonstrate the progress made thus far. Moving forward, we can concentrate on implementing additional segments.
Route in web.php

Controller
The controller plays a vital role in the image-uploading process. It is responsible for handling the request from the view and communicating with the model to process the data. The functionality of the controller for image uploading needs to be discussed in detail. It involves tasks such as receiving the image file from the form, validating the image format and size, and storing the image in the database or server. Therefore, it is crucial to understand the working of the controller to ensure proper image-uploading functionality.
//Image = the attribute in database
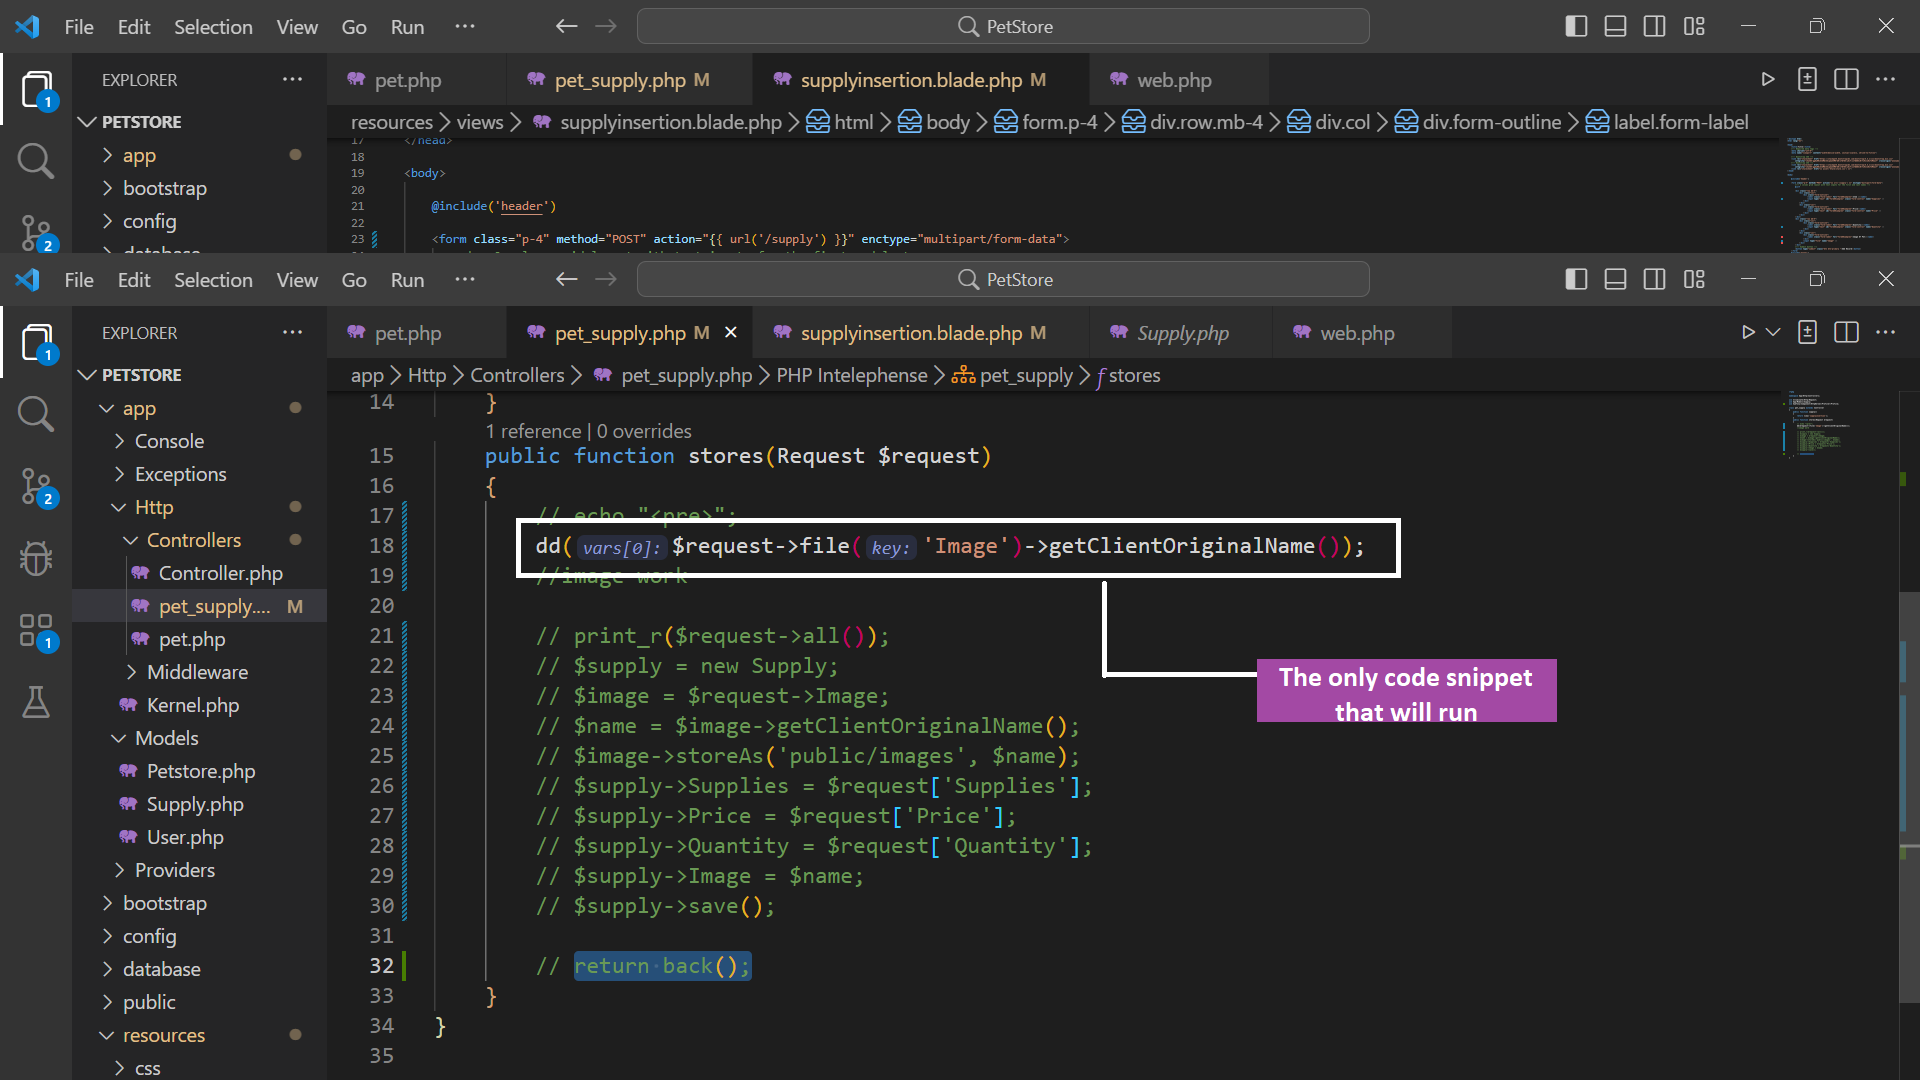
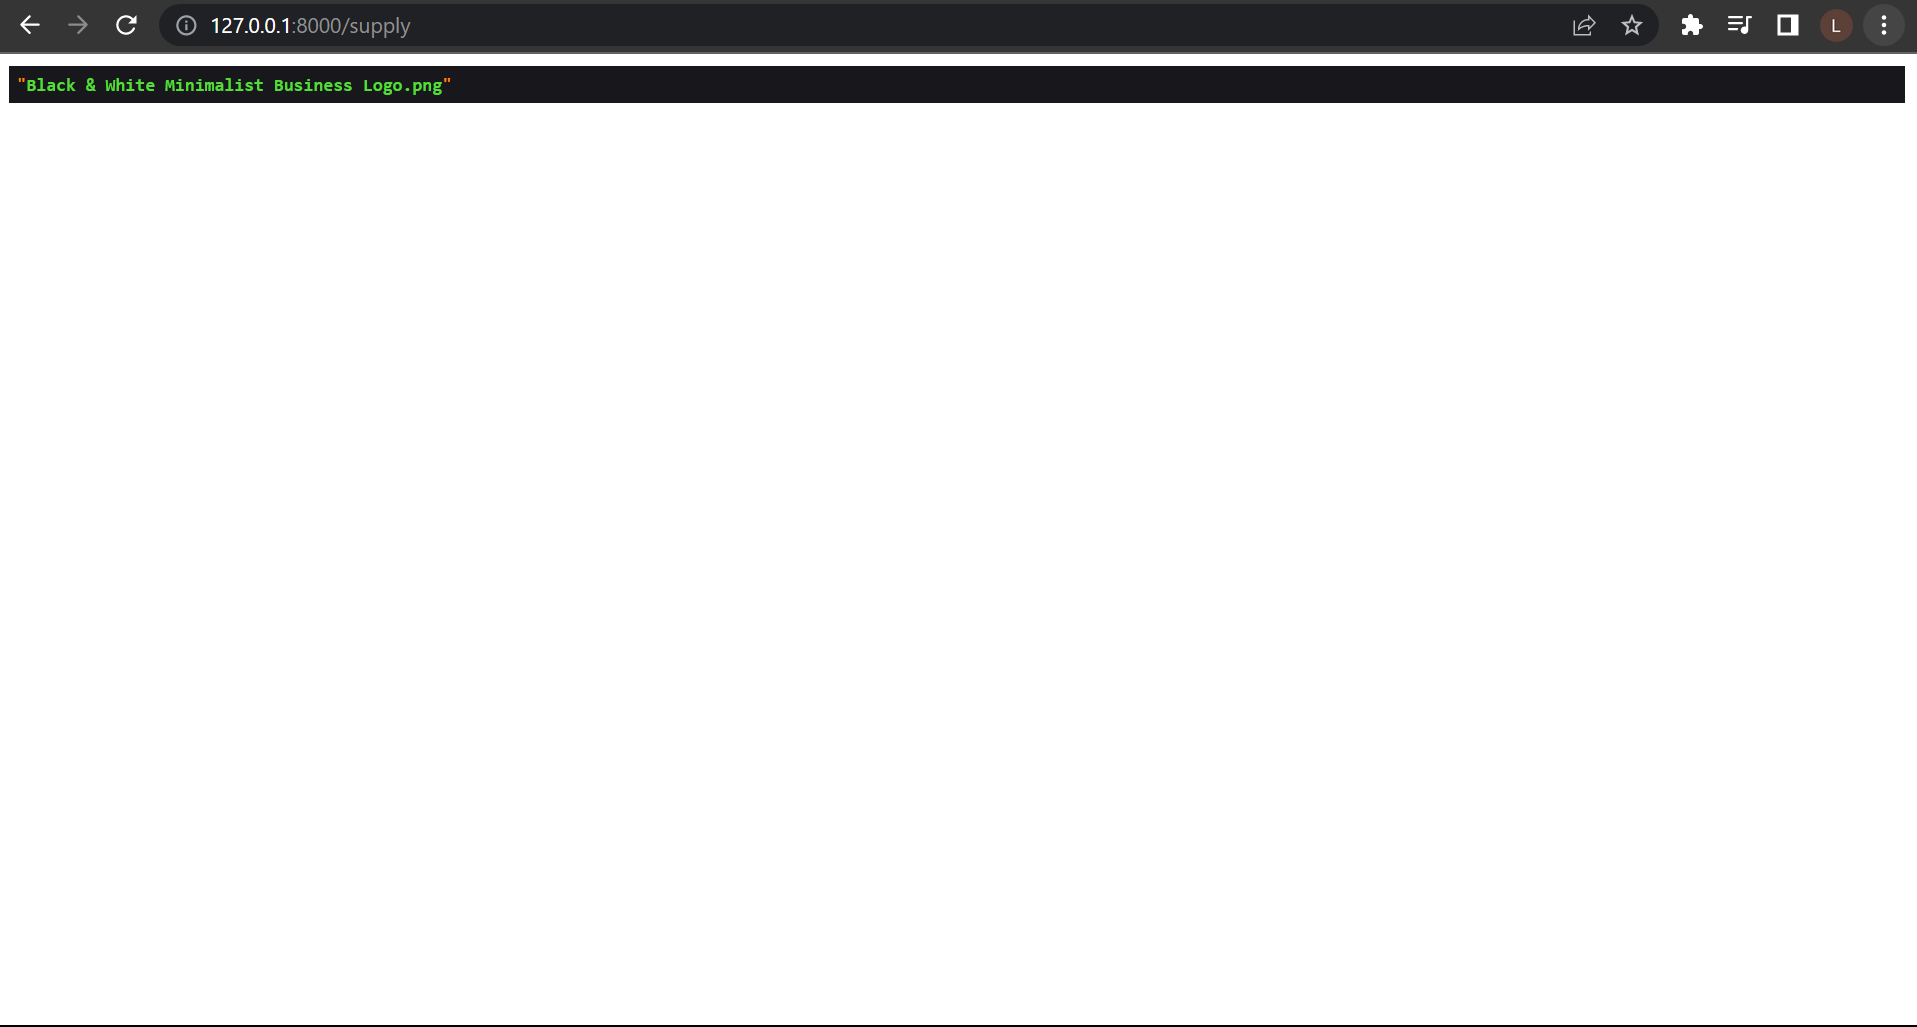
dd($request->file('Image')->getClientOriginalName());
The code snippet mentioned above serves the purpose of displaying the original name of the image that was just uploaded, along with other relevant details. This code plays a crucial role in the initial stage of image uploading, as it allows us to verify if the website has successfully retrieved the original name of the image. By doing so, we can ensure that the correct image has been uploaded and avoid any errors in the subsequent stages of the process.
Now let me show you
if the website has successfully retrieved the original name of the image
Controller
View on server
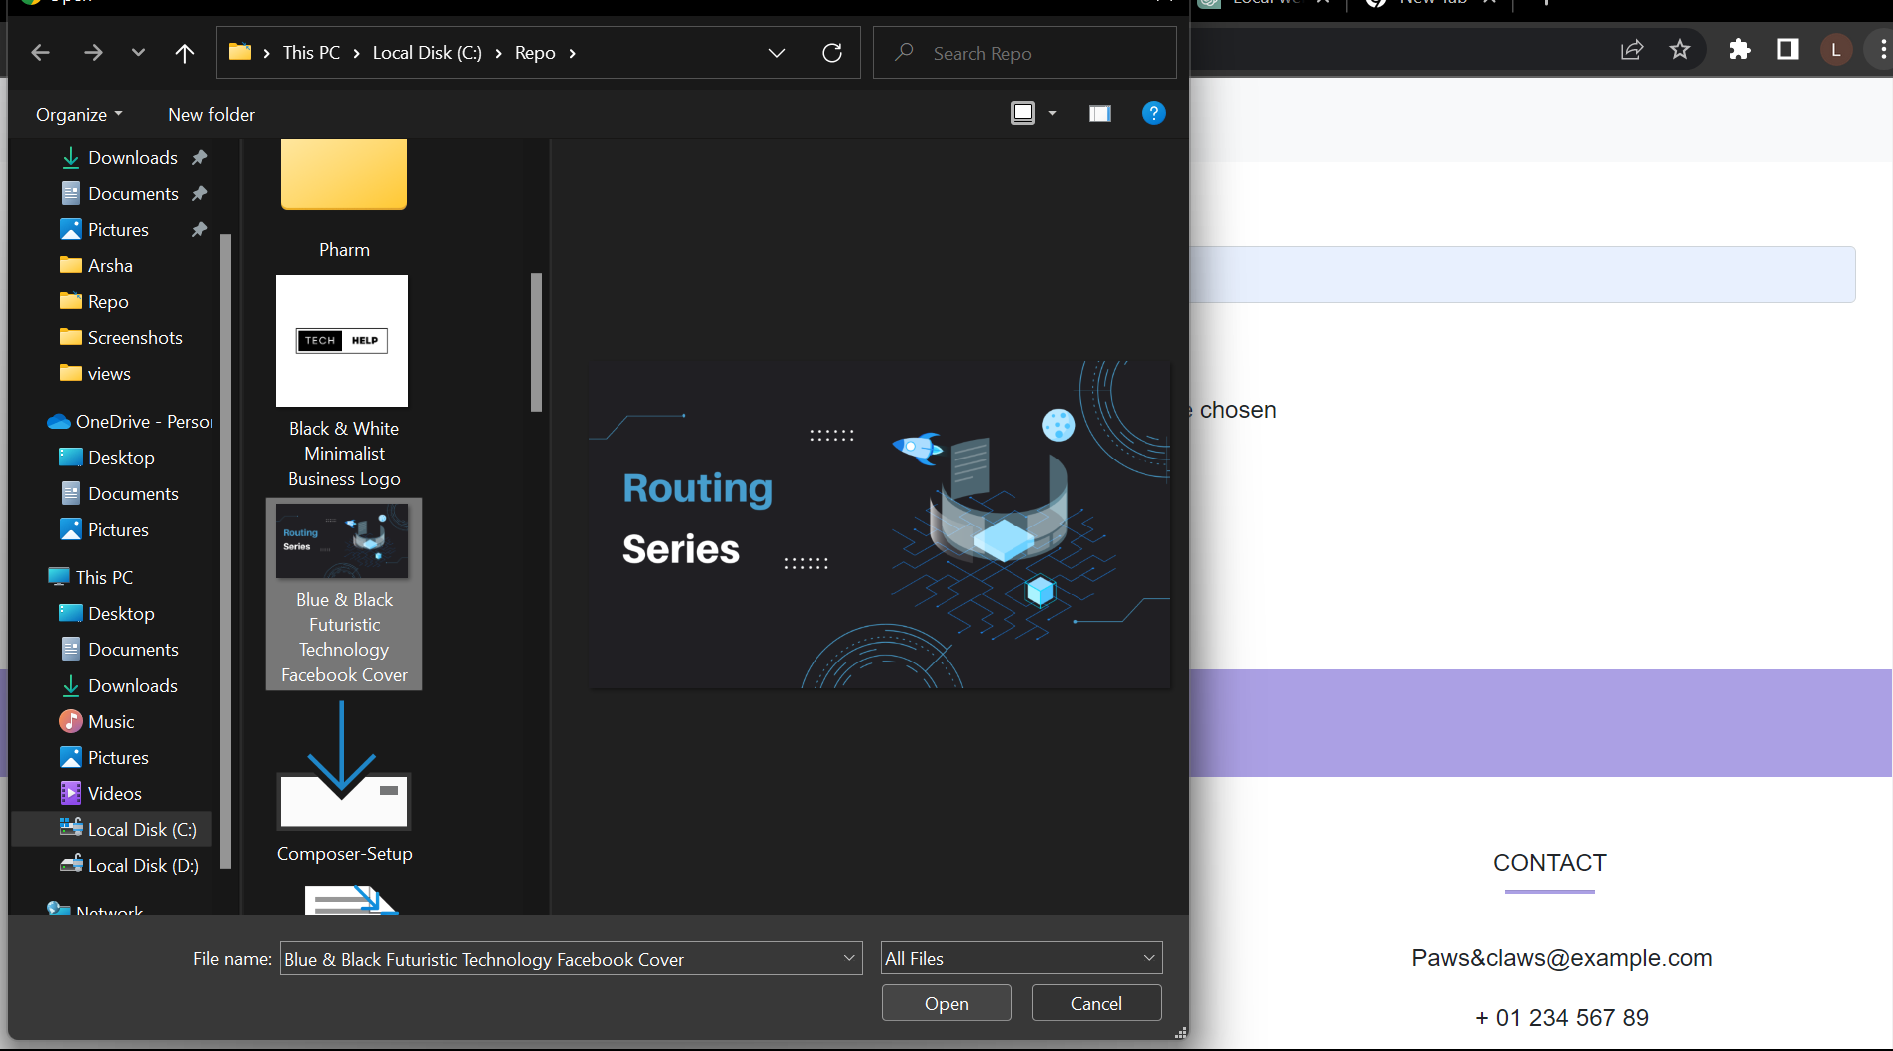
Inserting image
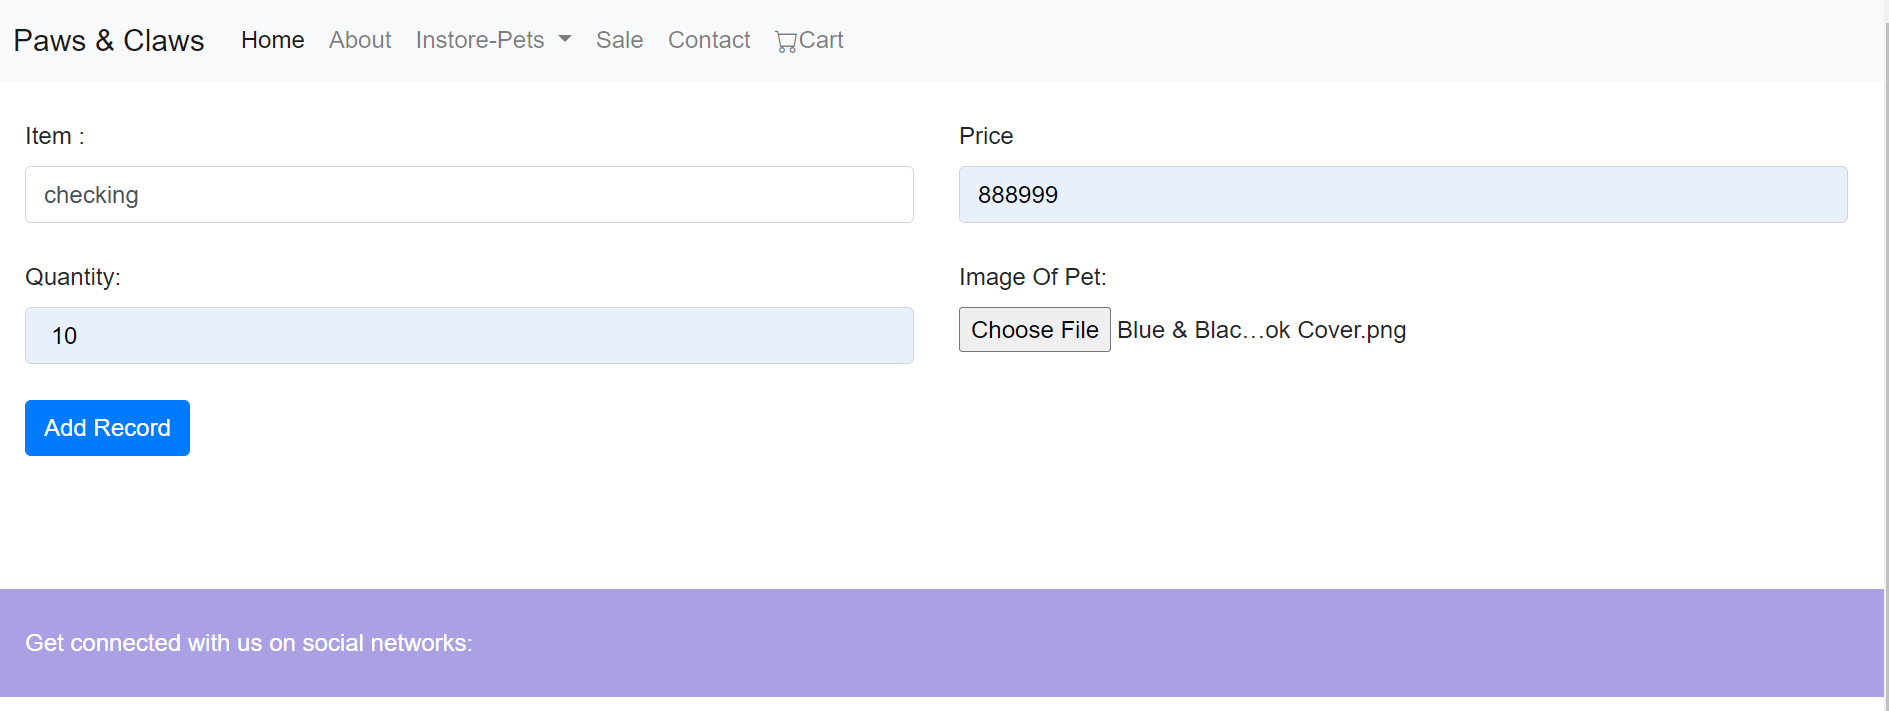
View after post
Implementation of Code for Storing Images in Database through Input Form
In this section, we will be implementing the code to store the image in the database through the input form. The code will be written in the controller function, which will handle the form submission and store the image in the database.
First, we will start by creating a new controller function, which will handle the form submission. Inside this function, we will validate the input data and store the image in the database.
We will be using the Laravel request() method to retrieve the file data from the input form. Once we retrieve the file data, we will store it in the public directory using the store() method.
After storing the file, we will create a new record in the database with the file name and other necessary data. Finally, we will redirect the user to the success page.
This implementation will enable users to store images in the database through an input form, making it easier to manage and display images on the website.
Controller
<?php

namespace App\Http\Controllers;

use Illuminate\Http\Request;
use App\Models\Supply;
use Symfony\Component\HttpKernel\Profiler\Profile;

class pet_supply extends Controller
{
    public function supply()
    {
        return view('supplyinsertion');
    }
    public function stores(Request $request)
    {
        //image work for check
        // dd($request->file('Image')->getClientOriginalName());
        //To store all data of form with image
        $image = $request->Image;//image through request is stored in $image variable
        $name = $image->getClientOriginalName();//now name of image is stored in $name
        $image->storeAs('public/images', $name);//storeAs is a function which takes path(where to store) and original name of image.
        echo "<pre>";
        print_r($request->all());
        $supply = new Supply;
        $supply->Supplies = $request['Supplies'];
        $supply->Price = $request['Price'];
        $supply->Quantity = $request['Quantity'];
        $supply->Image = $name;
        $supply->save();
        return back();
    }
}
Server/view
After I have clicked on the 'Add Record' button, the data will be saved in MySQL and the admin will return back to the same form!
Data is stored in MySQL
The data we have entered above is stored in a database.


